

 SCI Artisan Official
Use selection, alignment, and layers to organize individual elements into a clear scientific figure. Establish the structure before refining its appearance.
Add and select elements
Choose a basic shape and drag on the canvas to draw it. Return to the selection tool and click an element to show its selection box and properties. Hold Shift or Ctrl while clicking to select multiple elements, or drag a selection box.
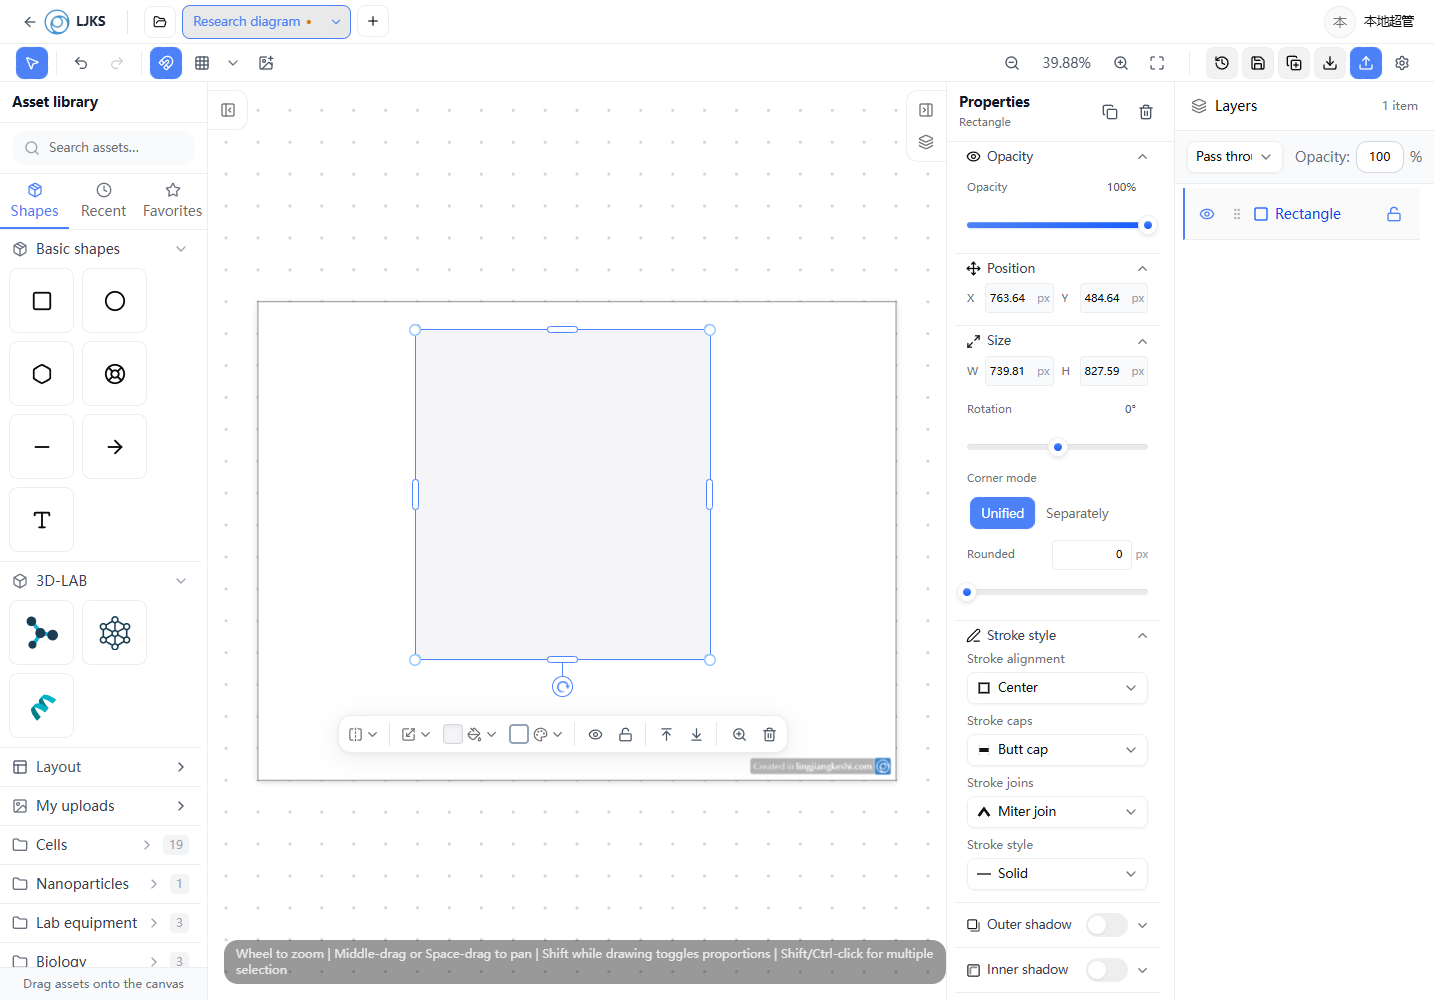 Select elements before moving or styling them
Set position and size
Drag an element to move it, or drag its selection handles to resize it. For precise control, enter position, width, height, and rotation in the properties panel.
Shapes, text, and containers expose different properties. Use the controls shown for the selected object.
Alignment and snapping
Select the elements you want to arrange, open Smart alignment in the top toolbar, and choose an available alignment or layout action. Snapping and the grid can help you judge positions while drawing.
Manage layers and groups
Open Layers beside the canvas to inspect stacking order, visibility, and locks. Front elements can cover elements behind them. Unlock a locked element before editing it.
Group content that needs to move together. Check your selection after each operation to avoid adjusting unrelated elements.
Use figure layouts
Choose Layout on the left to organize multi-panel scientific figures. Select an available layout, then add images, titles, or captions. Layout objects do not necessarily have all the same properties as ordinary shapes.
Undo and save
| Action | Common Windows shortcut |
|---|---|
| Undo | Ctrl + Z |
| Redo | Ctrl + Y |
| Multiple selection | Shift / Ctrl + click |
| Pan | Space + drag |
Save after completing a set of changes. If you make a mistake, undo first, then check Layers and the selection. For custom pie charts, see Pie charts and path text.