

 SCI Artisan Official
Start with a blank canvas or an existing template. This guide introduces the editor with a simple shape, then shows how to save it as your own project.
Create your first canvas
- On the home page, choose New canvas under Quick create.
- Sign in if prompted, then continue creating.
- Check the canvas size in the top toolbar. Open Canvas size presets or Canvas settings to change it.
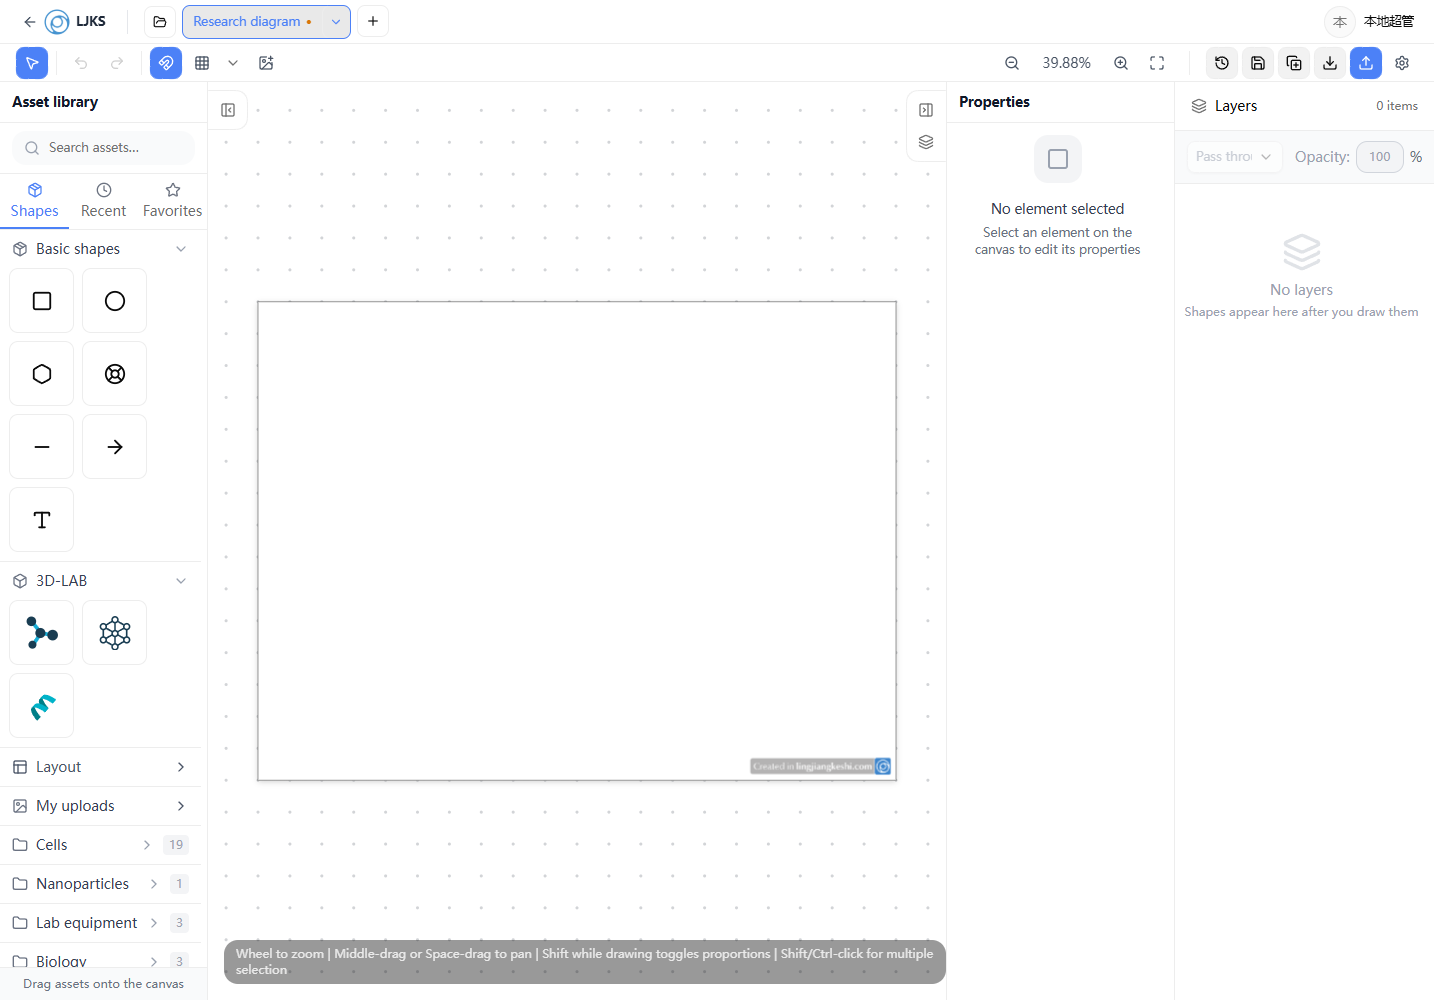 Editor workspace
When the page says Local demo, saving and payment demonstrate the workflow. This does not mean your content has synced to a live account.
Explore the workspace
| Area | What it does |
|---|---|
| Top toolbar | Switch projects, undo and redo, adjust the view, save, and export |
| Left asset library | Add basic shapes, text, and available assets |
| Central canvas | Draw, select, move, and resize elements |
| Right properties panel | Change the selected element’s position, size, and appearance |
| Layers panel | Inspect stacking order, visibility, and locks |
Pan and zoom
Use the mouse wheel to zoom. Hold Space and drag, or drag with the middle mouse button, to pan. Choose Fit canvas to see the whole canvas again. These actions only change your view.
Add shapes and text
- Choose Rectangle or Circle on the left, then drag on the canvas.
- Select the shape and use its selection box to move or resize it.
- Choose Text on the left. Double-click the text to edit its content.
- Adjust its style in the properties panel or floating toolbar.
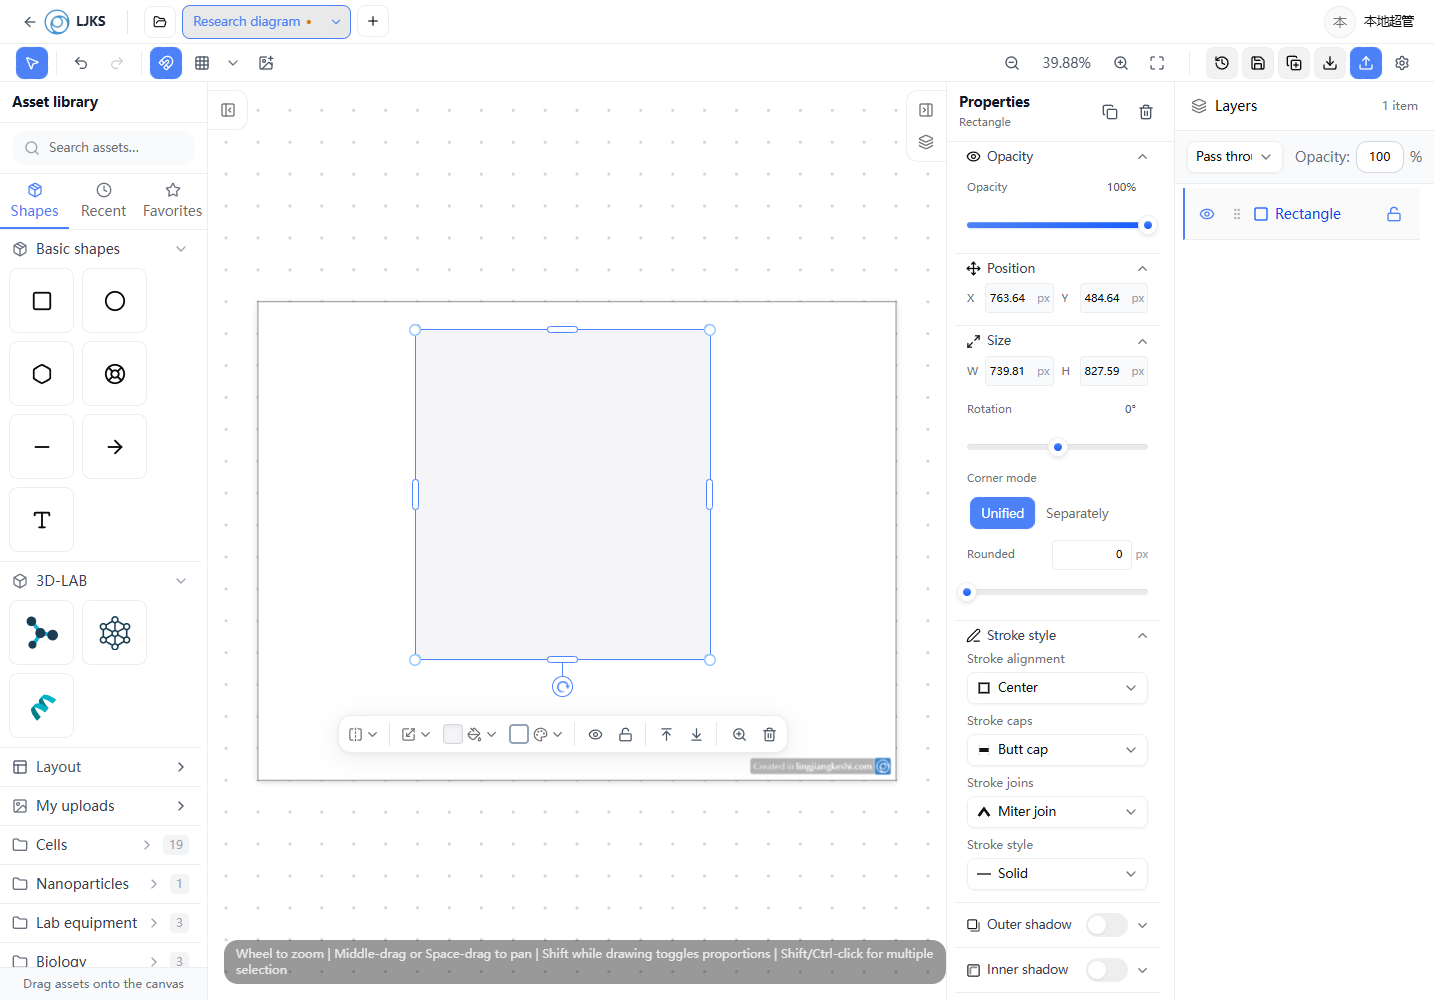 Select an element before changing its properties
Save and continue later
Choose Save in the top toolbar and confirm the project name if prompted. On your next visit, reopen it from Recent or its folder. Exporting an image is separate and does not replace saving the project.
Next steps
- Start from an existing structure: Official templates.
- Arrange elements clearly: Shapes and layout.
- Create an image or vector file: Saving and exporting.